
Updated: May 4, 2026
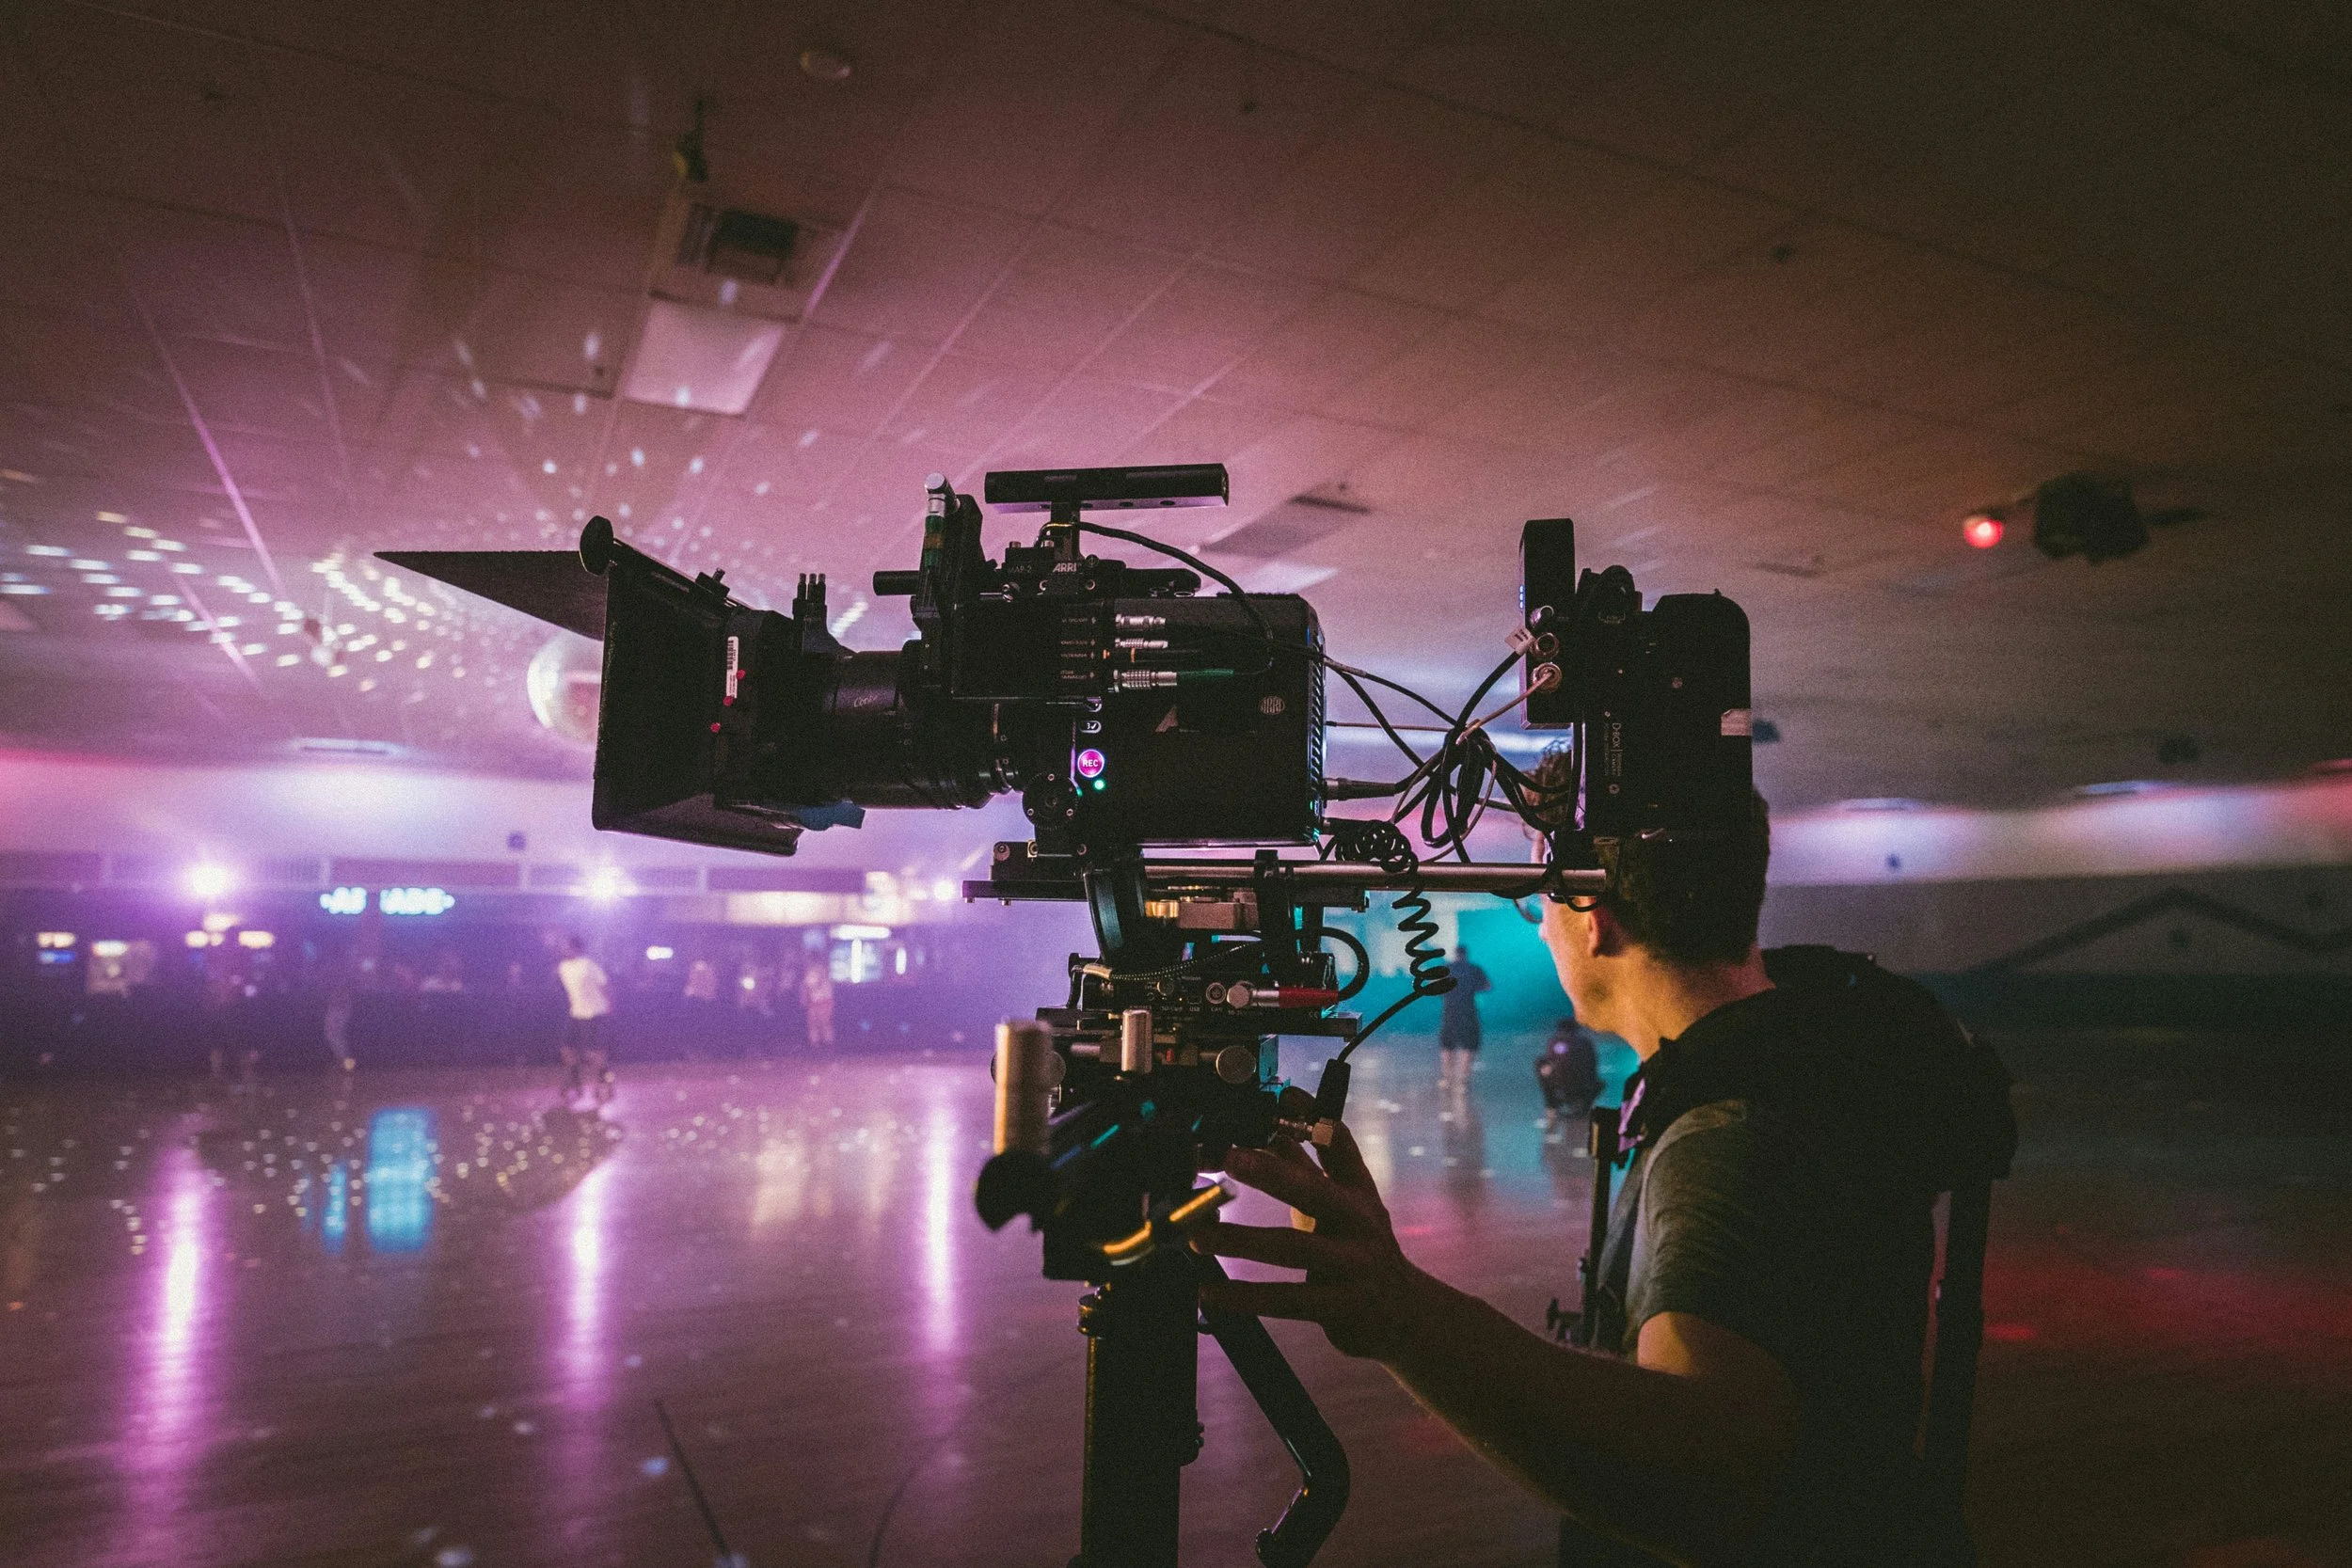
Photo by Jakob Owens on Unsplash
Between researching and observing countless music videos, I've gathered some insight as to what makes music visual narratives impactful. In an effort to support independent music artists (as well as my own future endeavors), I've put together some key elements that can help artists at any level create appealing music videos that connect with listeners and potentially expand their audience.
Why Music Videos Are Still Essential in Today's Music Industry

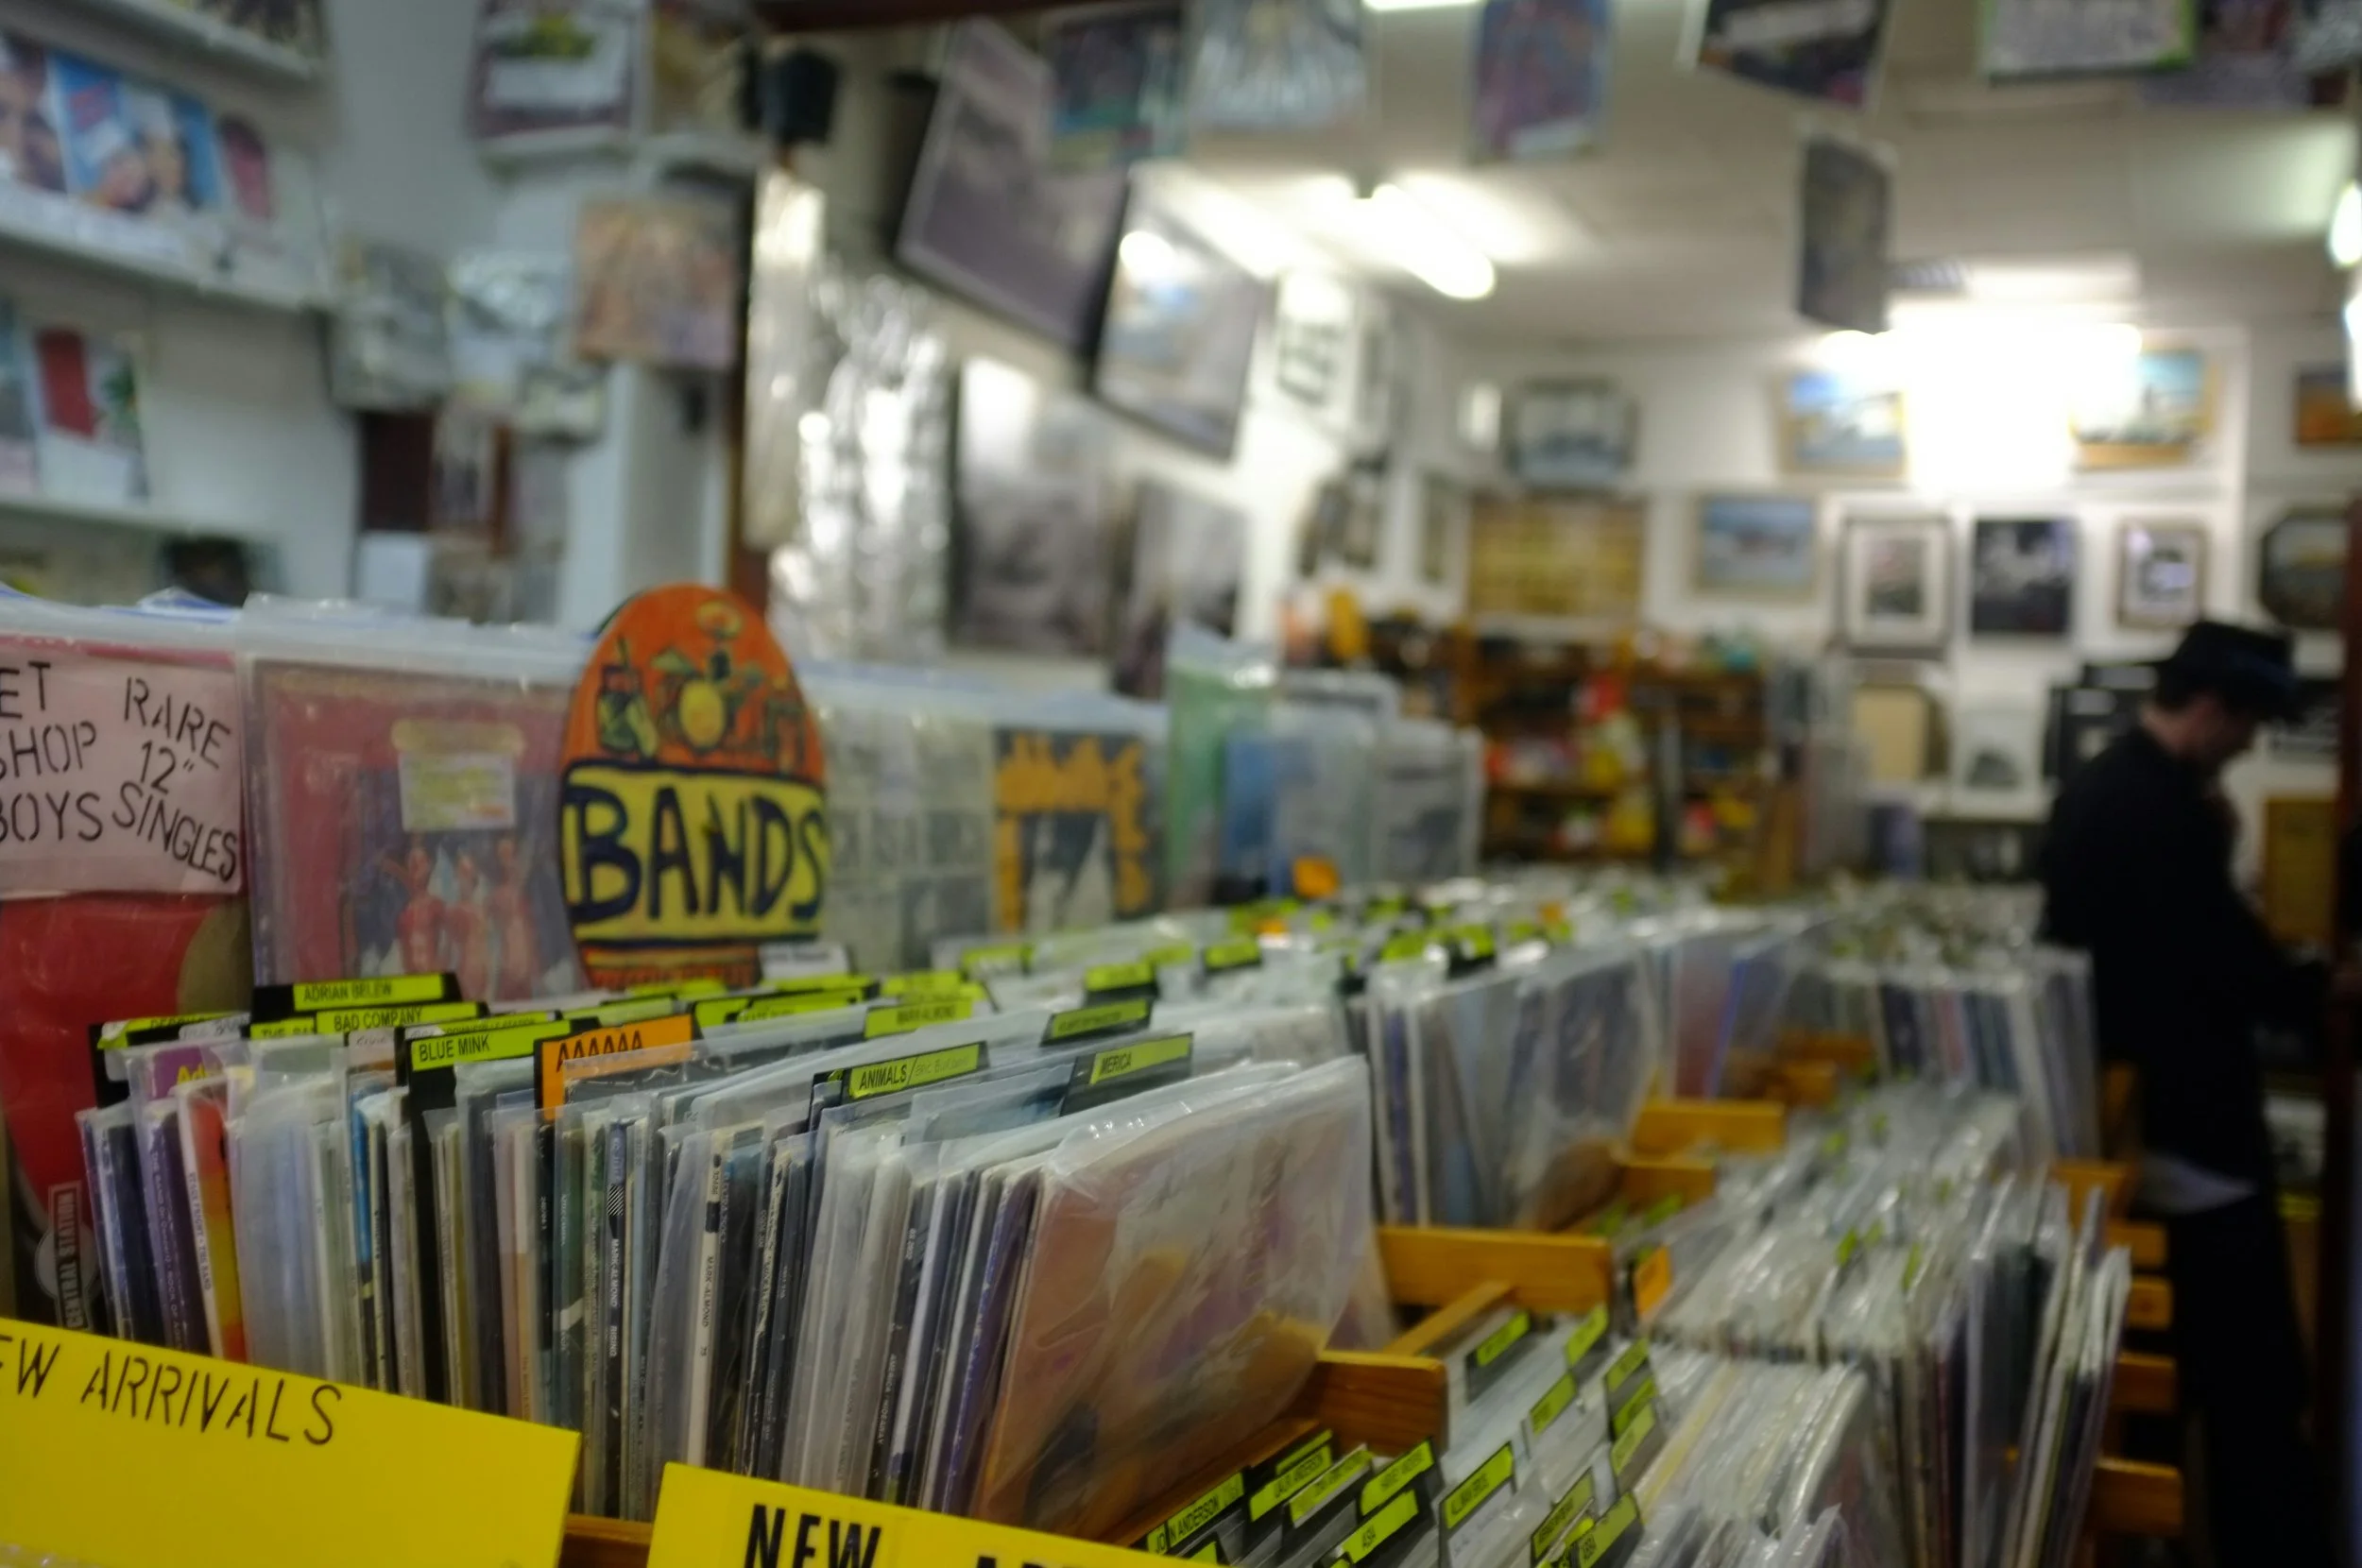
Photo by Gordon Cowie on Unsplash
Music videos are powerful for promoting independent artists. Marketing reports show viewers retain 95% of a message when they watch it in a video, compared to only 10% when just reading text. This makes music videos effective for artist branding and marketing.
YouTube is the second-largest search engine globally and is a primary music discovery platform, making it a great way for music consumers to find new artists through music videos.
Short-form video platforms like TikTok, Instagram Reels, and YouTube Shorts have created even more opportunities for music promo. 84% of the songs that reached the Billboard Global 200 in 2024 went viral on TikTok first.
In 2023, 90% of the most-streamed songs on Spotify had accompanying music videos. A memorable music video can solidify an artist's identity while expanding their reach.
Planning Your Music Video

Photo by Yusuf Onuk on Unsplash
1. Define Your Vision and Concept
The most engaging music videos complement the essence of the song.
Listen to your music from the perspective of a fan. Before you conceptualize your video, spend time with your song in a focused environment. Pay attention to the emotions it evokes, the narrative, the lyrics, and any imagery that naturally comes to mind when listening. It might be helpful to keep a journal where you document these thoughts over multiple listening sessions.
Think about your brand identity. Your music video should reflect your artistic persona. Check your current press photos, album artwork, and social media aesthetic, etc., then pick out the main elements that define your brand. Ask yourself: What colors, settings, and motifs represent my musical identity the most? What would my audience expect, and how can I satisfy and surpass those expectations?
Do your research. Study videos from artists in your genre or with similar aesthetics, but look for ways to differentiate yourself. Create a reference library of videos that inspire you, noting specific elements you admire like lighting techniques, camera movements, narratives, or even editing styles. Tools like Pinterest boards or mood boards can help organize these visual references.
Choose your video type: Decide whether your video will be:
Narrative-based: Telling a cohesive story that either directly illustrates the lyrics or presents a complementary narrative
Performance-focused: Showcasing you performing the song in a compelling setting
Concept-driven: Built around a central visual theme or artistic idea
Hybrid approach: Combining elements of narrative and performance
Each approach has its own advantages. Narrative videos often create deeper emotional connections, while performance videos better showcase your personality and stage presence. Concept videos can be more memorable and shareable, but tend to require more creative development.
2. Set a Realistic Budget
Having an understanding of the financial needs of your project can help guide your creative decisions and prevent production problems.
Low budget ($0-$500): At this level, you'll likely take a DIY approach using borrowed or rented equipment, free locations, and friends as crew and talent. Many iconic videos have been shot on smartphones with creative lighting and thoughtful composition. Focus on finding a single, visually interesting location and developing a concept that doesn't require elaborate production elements.
Modest budget ($500-$2,000): This range allows for hiring a videographer (or potentially a director) on a day rate, renting quality camera equipment and basic lighting, securing simple location permits if needed, and possibly bringing on a makeup artist or stylist. At this level, you might film in 2-3 locations over a single day.
Medium budget ($2,000-$10,000): With this investment, you can put together a small professional crew including a director, cinematographer, gaffer (lighting technician), and production assistant. You'll have access to higher-end equipment, multiple shooting days, professional actors if needed, more elaborate locations, and basic visual effects or animation in post-production.
Higher budget ($10,000+): This allows for a full production team, premium equipment packages, elaborate sets or exclusive locations, complex editing, advanced visual effects, and the ability to shoot over multiple days with proper craft services (meals for cast and crew).
When figuring out your budget, make sure you allocate funds for the main categories:
Personnel (director, cinematographer, crew)
Equipment rental
Location fees and permits
Props, wardrobe, and set design
Post-production (editing, color grading, effects)
Contingency fund (typically 10-15% of total budget for unexpected costs)
Remember that sometimes creativity thrives within constraints, and some of the most iconic music videos were created with little resources but a lot of imagination.
3. Assemble Your Team
The right collaborators can support your vision and bring technical expertise to elevate your project.
Director: The creative leader who translates your vision into visual language.
When choosing a director:
Review their portfolio to see if their style is compatible with your concept.
Discuss their interpretation of your song and video concept.
Make sure they understand your budget constraints and can work within them.
Evaluate their communication style and their collaborative approach.
Check references from previous clients whenever possible.
Director of Photography (DoP): Responsible for the visual look, camera work, and lighting. A skilled DoP can make modest productions look professional through their understanding of composition, lighting techniques, and camera movement. Look for DoPs who specifically have experience in music videos, since it’s a format that has its own visual language.
Producer: Handles logistics, scheduling, permits, and keeps production on track.
A good producer:
Creates and keeps the production on schedule
Manages the budget and keeps track of expenses
Secures locations and any necessary permits
Coordinates crew and talent
Troubleshoots problems that arise
Editor: Puts the footage into the final product, usually having significant creative input on the rhythm and pacing of the video.
When choosing an editor:
Look for experience specifically with music videos
Review their previous work for pacing and visual style
Discuss their approach to syncing visuals with musical elements
Confirm that their technical capabilities match your post-production needs
Additional crew roles might include:
Gaffer: Chief lighting technician
Grip: Handles lighting and camera support equipment
Production Assistant: Supports the production in various capacities
Hair and Makeup Artist: Creates the visual look for performers
Wardrobe Stylist: Develops and manages costuming
Production Designer: Creates the overall visual environment
For independent artists on tighter budgets, you might be able to find film school students or emerging professionals who are willing to work for reduced rates, portfolio building, or cross-promotion. Try local film collectives, art schools, and filmmaking Facebook groups to find collaborators who are passionate about music videos.
When you approach potential team members, remember that having a clear concept, realistic budget parameters, and professional communication goes a long way toward attracting quality collaborators.
Pre-Production: Setting Yourself Up for Success

Photo by Nasim Keshmiri on Unsplash
1. Create a Storyboard and Shot List
A storyboard is a visual outline of your video, breaking down the concept into individual shots:
You don’t have to have advanced artistic skills to create a storyboard, as simple sketches work too.
Each frame should represent a key shot or moment in your video, with notes on:
Camera angle and distance (close-up, medium shot, wide shot)
Subject positioning and movement
Key actions or expressions
Lighting mood and direction
Transitions between shots
Along with your storyboard, develop a shot list detailing each individual camera setup you’ll need.
A comprehensive shot list includes:
Shot number for reference
Shot description (what's happening)
Camera angle, movement, and framing
Actors/performers involved
Key props or set elements
Estimated time needed to capture
Technical requirements (special equipment, lighting setups)
Having these planning documents will help communicate your vision to everyone involved. It’ll also help you identify potential issues that could pop up before shooting begins. It serves as a roadmap during filming, making sure you have realistic shooting schedules to get all the footage you need.
Some affordable apps and software options exist for creating storyboards, including Shot Designer, Boords, and StudioBinder, but even a simple PowerPoint or Google Slides document can work too.
2. Scout and Secure Locations
Your shooting locations heavily impact the look, feel, and production value of your video.
Location scouting considerations:
Visual alignment with your concept and the song's mood
Available natural lighting throughout your planned shooting time
Acoustic properties (important for performance segments)
Electrical access for lighting and equipment
Ambient noise levels
Availability of parking/loading areas for equipment
Bathroom facilities and amenities for cast/crew
Weather protection for outdoor locations
Permission and permits:
Make sure you get proper permission before filming, even in seemingly public spaces
Many cities require film permits for commercial filming in public areas
Permit costs vary widely by location ($25-$500+ depending on the city and requirements)
Permit applications typically need to be submitted 1-2 weeks in advance
Liability insurance might be required (short-term policies are available specifically for video productions)
Budget-friendly location options:
Your home or studio space
Friends' homes or businesses
Local businesses during off-hours (offer promotion in exchange for location use)
Public parks (usually requiring simple permits)
Abandoned or industrial areas (with proper permission)
Natural settings like forests, beaches, or fields
Art galleries or cultural spaces that might support local artists
Always visit potential locations at the same time of day you plan to shoot to figure out lighting conditions, and take test photos to see how the space translates on camera.
3. Plan Your Technical Requirements
Work with your director and DoP to plan the technical aspects of your shoot.
Camera selection and settings:
Resolution (4K is increasingly standard but requires more storage and processing power)
Frame rate (24fps for a cinematic look, 60fps for smooth slow-motion capabilities)
Aspect ratio (16:9 is standard, but creative choices like 4:3 or 2.35:1 can create distinct aesthetics)
Color profile (determines how much flexibility you'll have in color grading)
Lighting considerations:
Natural vs. artificial lighting approach
Equipment needed (LED panels, fresnel lights, ring lights, etc.)
Modifiers required (diffusers, reflectors, gels for color effects)
Power requirements and sources
Special lighting effects (strobe, colored gels, projections)
Support equipment considerations:
Gimbals or steadicams for smooth movement
Sliders or dollies for tracking shots
Drone for aerial photography (requires certified operators in some locations)
Monitors for viewing footage on set
Audio considerations:
Playback system for performing to your track
Timecode synchronization (if needed)
Recording reference audio for syncing purposes
Building a comprehensive equipment list with backup options will help guarantee you have everything needed on shooting day and can problem-solve if certain gear becomes unavailable.
Production Day: Making it Happen

Photo by Oleg Brovchenko on Unsplash
1. Set Management and Workflow
Efficient set management ensures you maximize your limited time and resources.
Call sheets are important documents handed out before shooting that include:
Date, location, and weather forecast
Call times for every crew member and performer
Contact information for key personnel
Equipment list
Location details, including parking information
Nearest medical facilities
Production schedule should include:
Setup time for equipment (typically 1-2 hours, depending on complexity)
Time allocated for each shot or sequence
Meal and rest breaks (typically a 30-minute break every 5 hours minimum)
Buffer time for unavoidable delays
Teardown and equipment return time
On-set protocol:
Designate specific roles and communication chains
Establish a system for reviewing footage (typically called "checking dailies")
Set up a naming convention for files and takes (to make sure they’re easy to find and distinguish)
Create a quiet, focused environment for performers
Document any changes to the shot list or creative decisions
2. Performance Tips for Artists
Even experienced performers can struggle with on-camera presence.
Preparation makes perfect:
Practice lip-syncing before the shoot day. Record yourself and watch the footage to make sure your mouth movements match perfectly with the vocals
Memorize your lyrics completely to keep your facial expressions natural
Practice performing at different energy levels so you can adjust based on the director's guidance
Prepare physically by getting adequate rest before shooting
On-camera technique:
Over-express slightly when necessary. For certain shots, sometimes cameras can flatten emotions, so what might feel exaggerated can look just right on screen.
Keep consistency across multiple takes by hitting the same marks and timing.
Stay conscious of lighting. Work with your DoP to understand the best angles and positions.
For closeups, practice micro-expressions that subtly convey emotion.
Remember that everything communicates. Your hand positions, posture, and even breathing patterns.
Practical considerations:
Wear clothing that supports your concept but is still comfortable for long periods
Consider how fabrics and patterns translate on camera (avoid fine patterns that can create crumpled or irregular effects)
Stay hydrated and avoid excessive caffeine that might create jitters
Bring backup wardrobe options
Schedule more demanding performance shots earlier in the day, when everyone’s energy will be higher
3. Technical Execution During Shooting
Quality footage comes from meticulous attention to technical details.
Multi-camera considerations:
If you’re using multiple cameras, keep consistent settings across all devices
Set up clear communication between camera operators
Consider how different angles will cut together in editing
Take management:
Shoot each scene multiple times from different angles
Log the quality and unique aspects of each take
Mark preferred takes for the editor
Make sure you have establishing shots, medium shots, and close-ups for editing flexibility
Continuity management:
Assign someone to monitor continuity across takes
Take reference photos of set arrangements, prop positions, and wardrobe
Note the lighting conditions if shooting extends across different times of day
Monitoring quality:
Review footage on the largest screen available
Check for focus issues, lighting inconsistencies, or any problems with framing
Listen for audio difficulties or background noise in reference recordings
Make sure performances match the emotional tone needed
B-roll footage:
Get supplementary footage that can be used during editing
Include atmospheric shots of locations, close-ups of relevant objects, and transition material
Shoot alternate angles and expressions that might be useful for creating visual interest
Post-Production: Where the Video Comes to Life
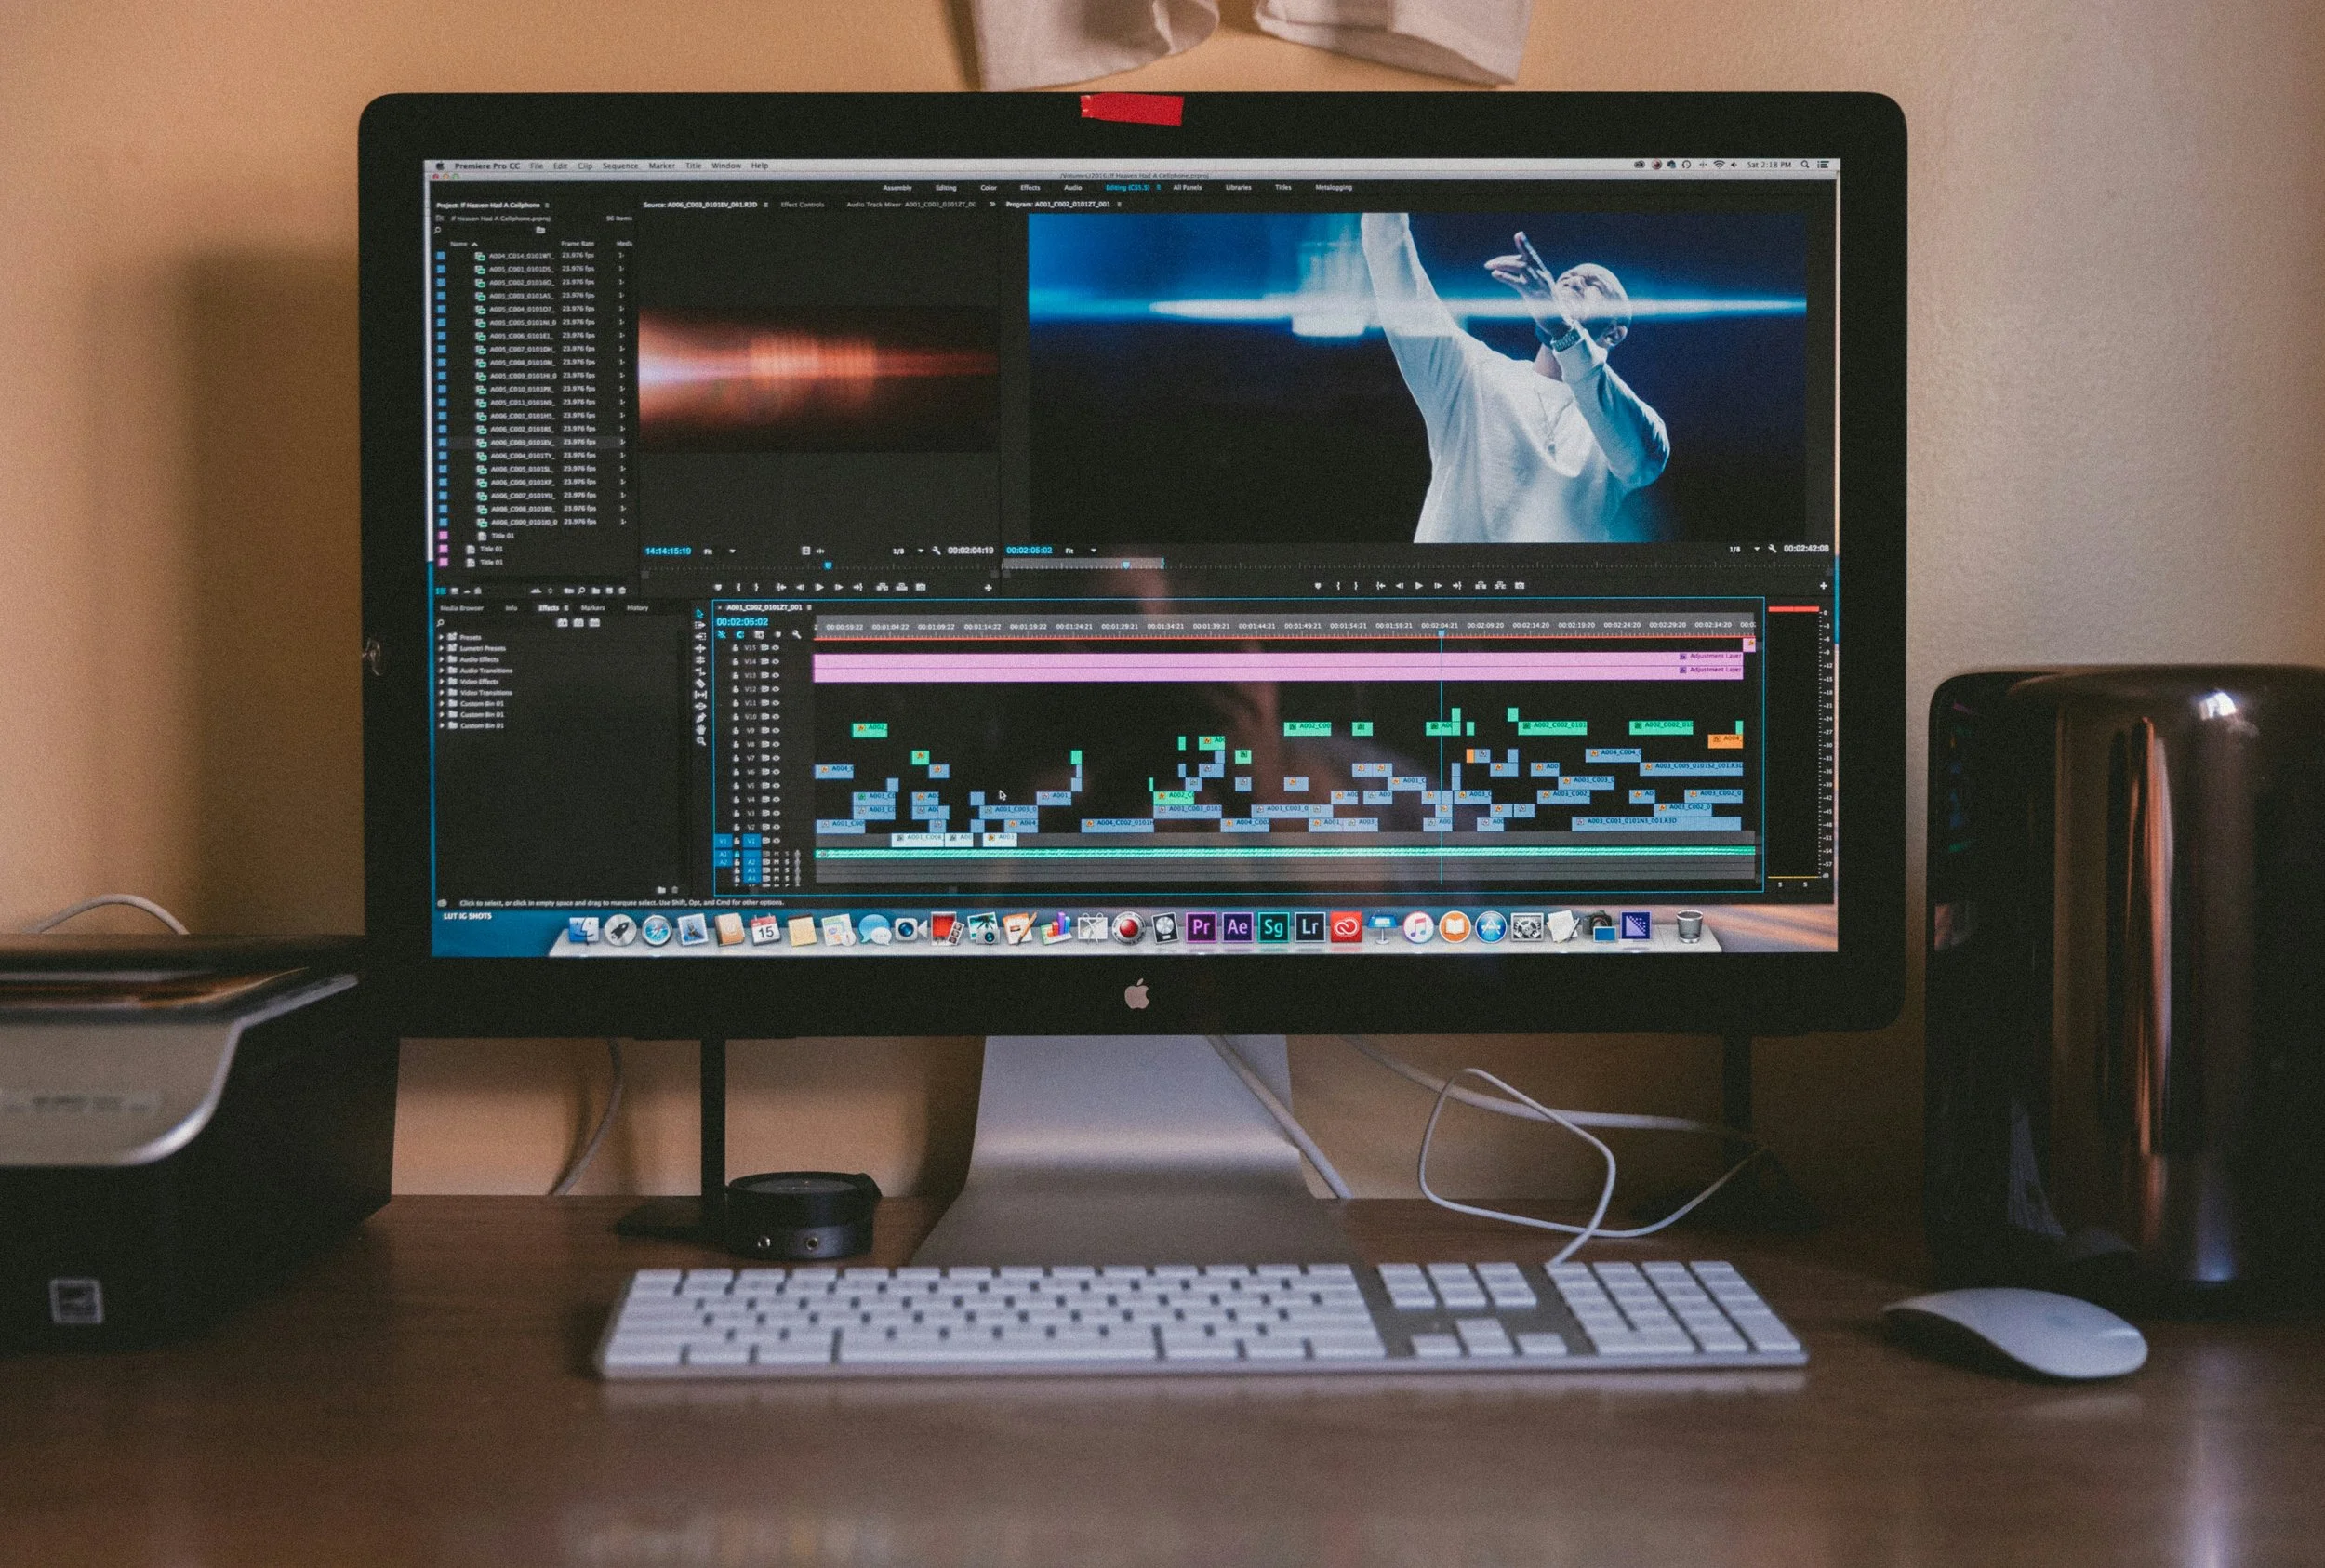
Photo by Jakob Owens on Unsplash
1. Organizing Your Footage
Organizing your footage before editing begins saves countless hours and prevents missing valuable shots.
File management:
Create a logical folder structure for raw footage, audio, graphics, and project files
Use consistent file naming that includes date, scene/shot numbers, and take numbers
Immediately back up all footage in at least two separate locations
Review and selection:
Watch all footage before beginning the edit (often called creating "selects" or "stringouts")
Mark in-points and out-points for the best takes
Create a paper edit or edit decision list (EDL) that maps out the general structure
Note any technical issues that might need special handling
2. The Editing Process
Turning raw footage into a cohesive music video takes a lot of work.
Initial assembly:
Sync the video to the master audio track
Create a rough cut that follows the storyboard or shot list
Focus on structure and pacing at first before you think about the finer details
Identify any areas you may need additional transitional material
Refining the edit:
Adjust timing to make sure visual cuts line up with musical elements:
Bass drops
Chorus transitions
Beat patterns
Vocal phrases
Create a visual rhythm that reflects the music's energy
Balance between quick cuts for high-energy sections and lingering shots for emotional moments
Make sure the narrative is clear if you’re telling a story
Visual enhancement: Make sure the visual tone is consistent and matches the mood of your song.
This could include:
Color grading:
Correcting exposure and white balance
Creating a specific "look" or color palette
Keeping skin tones natural (unless stylistic choices dictate otherwise)
Matching shots from different locations or lighting conditions
Visual effects:
Transitions beyond standard cuts, like dissolves, wipes, and creative transitions
Speed adjustments, such as slow motion, speed ramps, and freeze frames
Text elements or lyric displays if appropriate
Digital effects that support the concept
Green screen compositing (if used in production)
Audio considerations:
Make sure the synchronization is perfect throughout the video
Add any sound effects that are part of the concept when relevant
Balance audio levels for any dialogue or additional sound elements
Feedback and revisions:
Have a detailed review process with specific feedback parameters to eliminate any potential confusion
Limit revision rounds to prevent "scope creep" (endless small changes)
Get feedback from people outside the production who can give you fresh perspectives
Allow time between revisions to view with fresh eyes
Most professional music videos go through 3-5 revision cycles before they’re finalized.
3. Delivery Formats and Technical Specifications
Having the right industry-standard export settings will make sure your video looks and sounds its best on all platforms.
Standard delivery formats:
Master file: ProRes 422 HQ or H.264 at high bitrate (50+ Mbps)
Resolution: 4K (3840x2160) or HD (1920x1080)
Frame rate: Match your shooting frame rate (typically 24fps or 30fps)
Audio: Stereo, 48kHz, 24-bit
Platform-specific versions:
YouTube: H.264 codec, high profile, 4K or HD resolution
Instagram: H.264, square (1:1) or vertical (9:16) crops for feed and stories, under 60 seconds for Reels
TikTok: H.264, vertical orientation (9:16), under 60 seconds
Facebook: H.264, 1080p, optimized for mobile viewing (larger text, simplified visuals)
Vimeo: ProRes or high-bitrate H.264 for best quality
Each platform regularly updates its specifications, so check the current guidelines before final delivery/uploading.
Distribution Strategy: Getting Your Video Seen
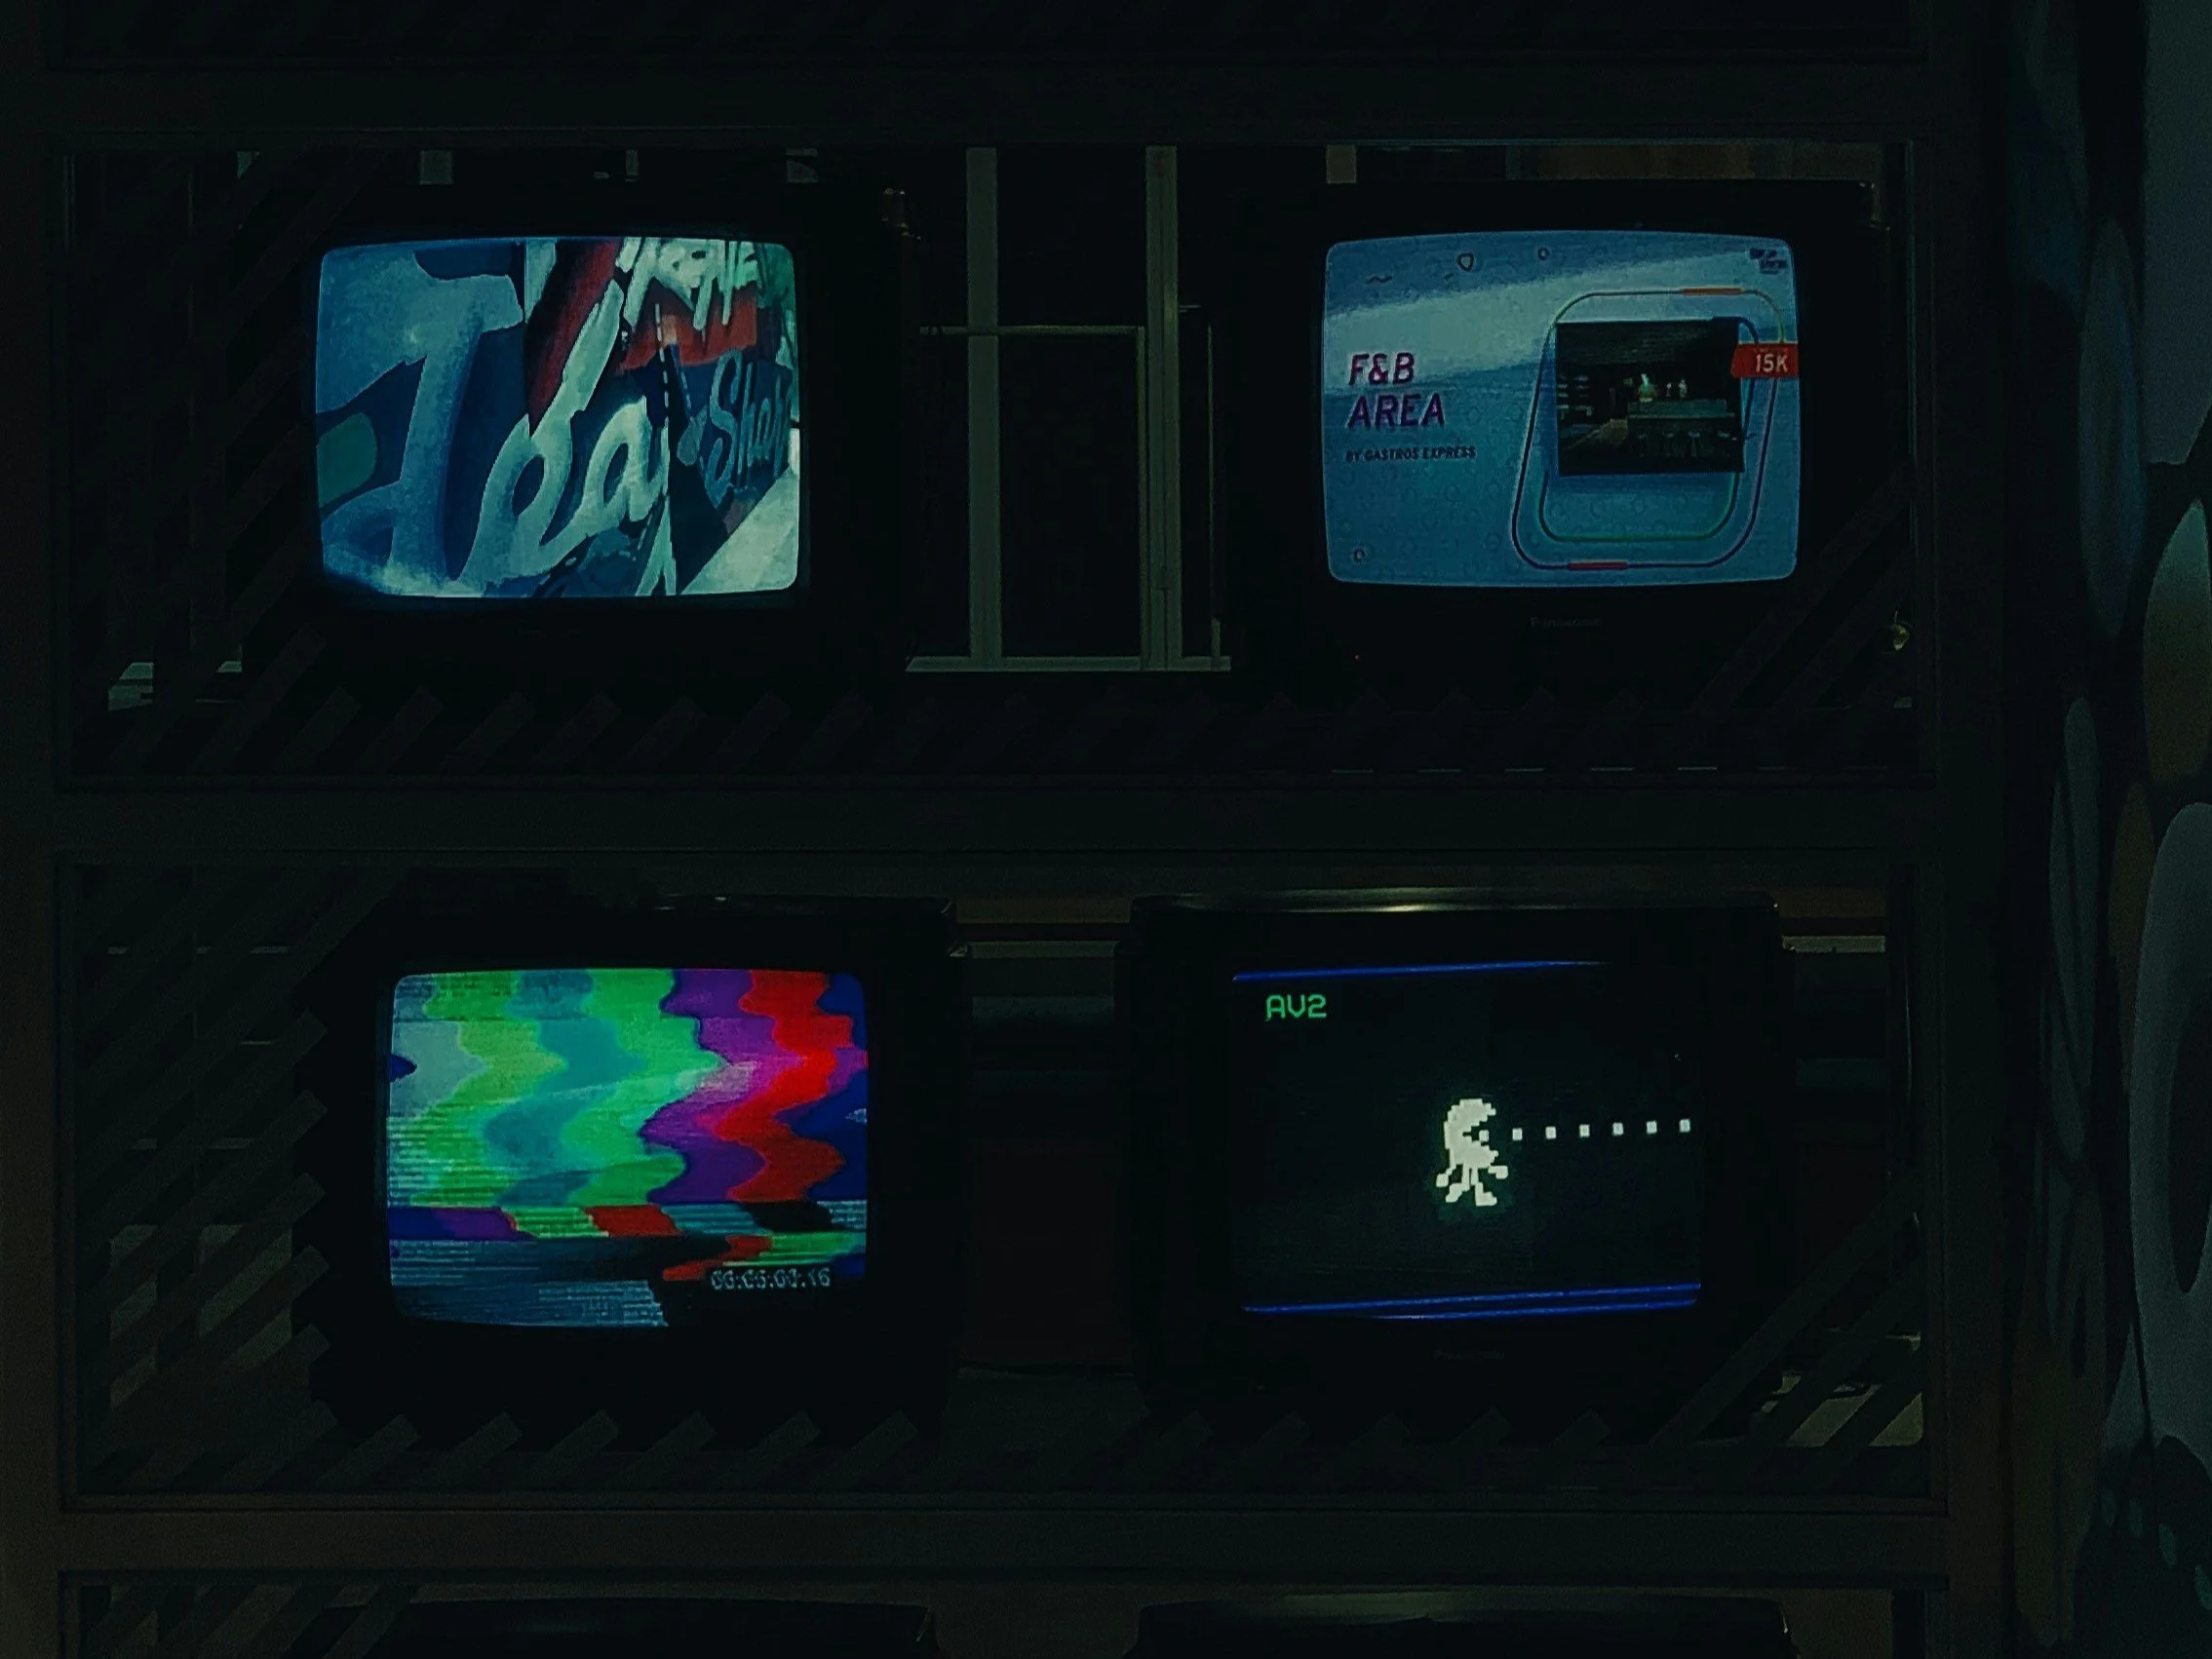
Photo by Dodi Achmad on Unsplash
Once your video is finished, you can strategize how you can make it hit with the hardest impact.
1. Preparation for Release
Create promotional assets:
Teaser clips (15-30 seconds) highlighting the most visually appealing moments
Still frames for social media posts
Behind-the-scenes content showing the creation process
Pull quotes or testimonials if you've had any industry feedback
Optimize for discovery:
Research and include relevant keywords for your video description
Create an eye-catching thumbnail that features you
Make sure your video description includes links to your music on streaming platforms
Use relevant hashtags for social platforms based on current trends
Technical preparation:
Upload your video privately first to see how it appears on different devices
Add captions or subtitles for accessibility and to improve engagement
Make sure all metadata is complete and accurate
2. Release Strategy
Timing considerations:
Release on Tuesday-Thursday when online engagement is typically higher
Time your release to coincide with related events or seasonal themes if relevant
Consider time zones if you have an international audience
Platform strategy:
Choose a primary platform for the official premiere (typically YouTube)
Plan staggered releases across social platforms to capitalize on various algorithm benefits
Consider platform exclusivity periods ( if it suits your goals)
Premiere options:
YouTube Premiere feature allows for scheduled releases with live chat
Partner with music blogs, YouTube channels, or playlist curators for co-promotion
Host a virtual watch party via Instagram Live or other streaming platforms
3. Promotion and Engagement
Announcement phase:
Begin teasing the video 1-2 weeks before release
Create a content calendar for promotional posts
Reach out to media contacts, playlist curators, and fellow artists
Release day:
Post across all your platforms with direct links
Engage as quickly as possible with early comments and shares
Thank your production team and encourage them to share
Sustained promotion:
Share behind-the-scenes content in the weeks following the release
Create derivative content, like lyric video versions, acoustic performances, etc.
Monitor your analytics to help you understand audience response and viewing patterns
Engagement tactics:
Respond to comments, especially in the first 24-48 hours
Create community challenges related to your video concept
Share fan reactions and covers
Use the video as content for paid promotion if your budget allows
Creative Ideas for Different Budget Levels

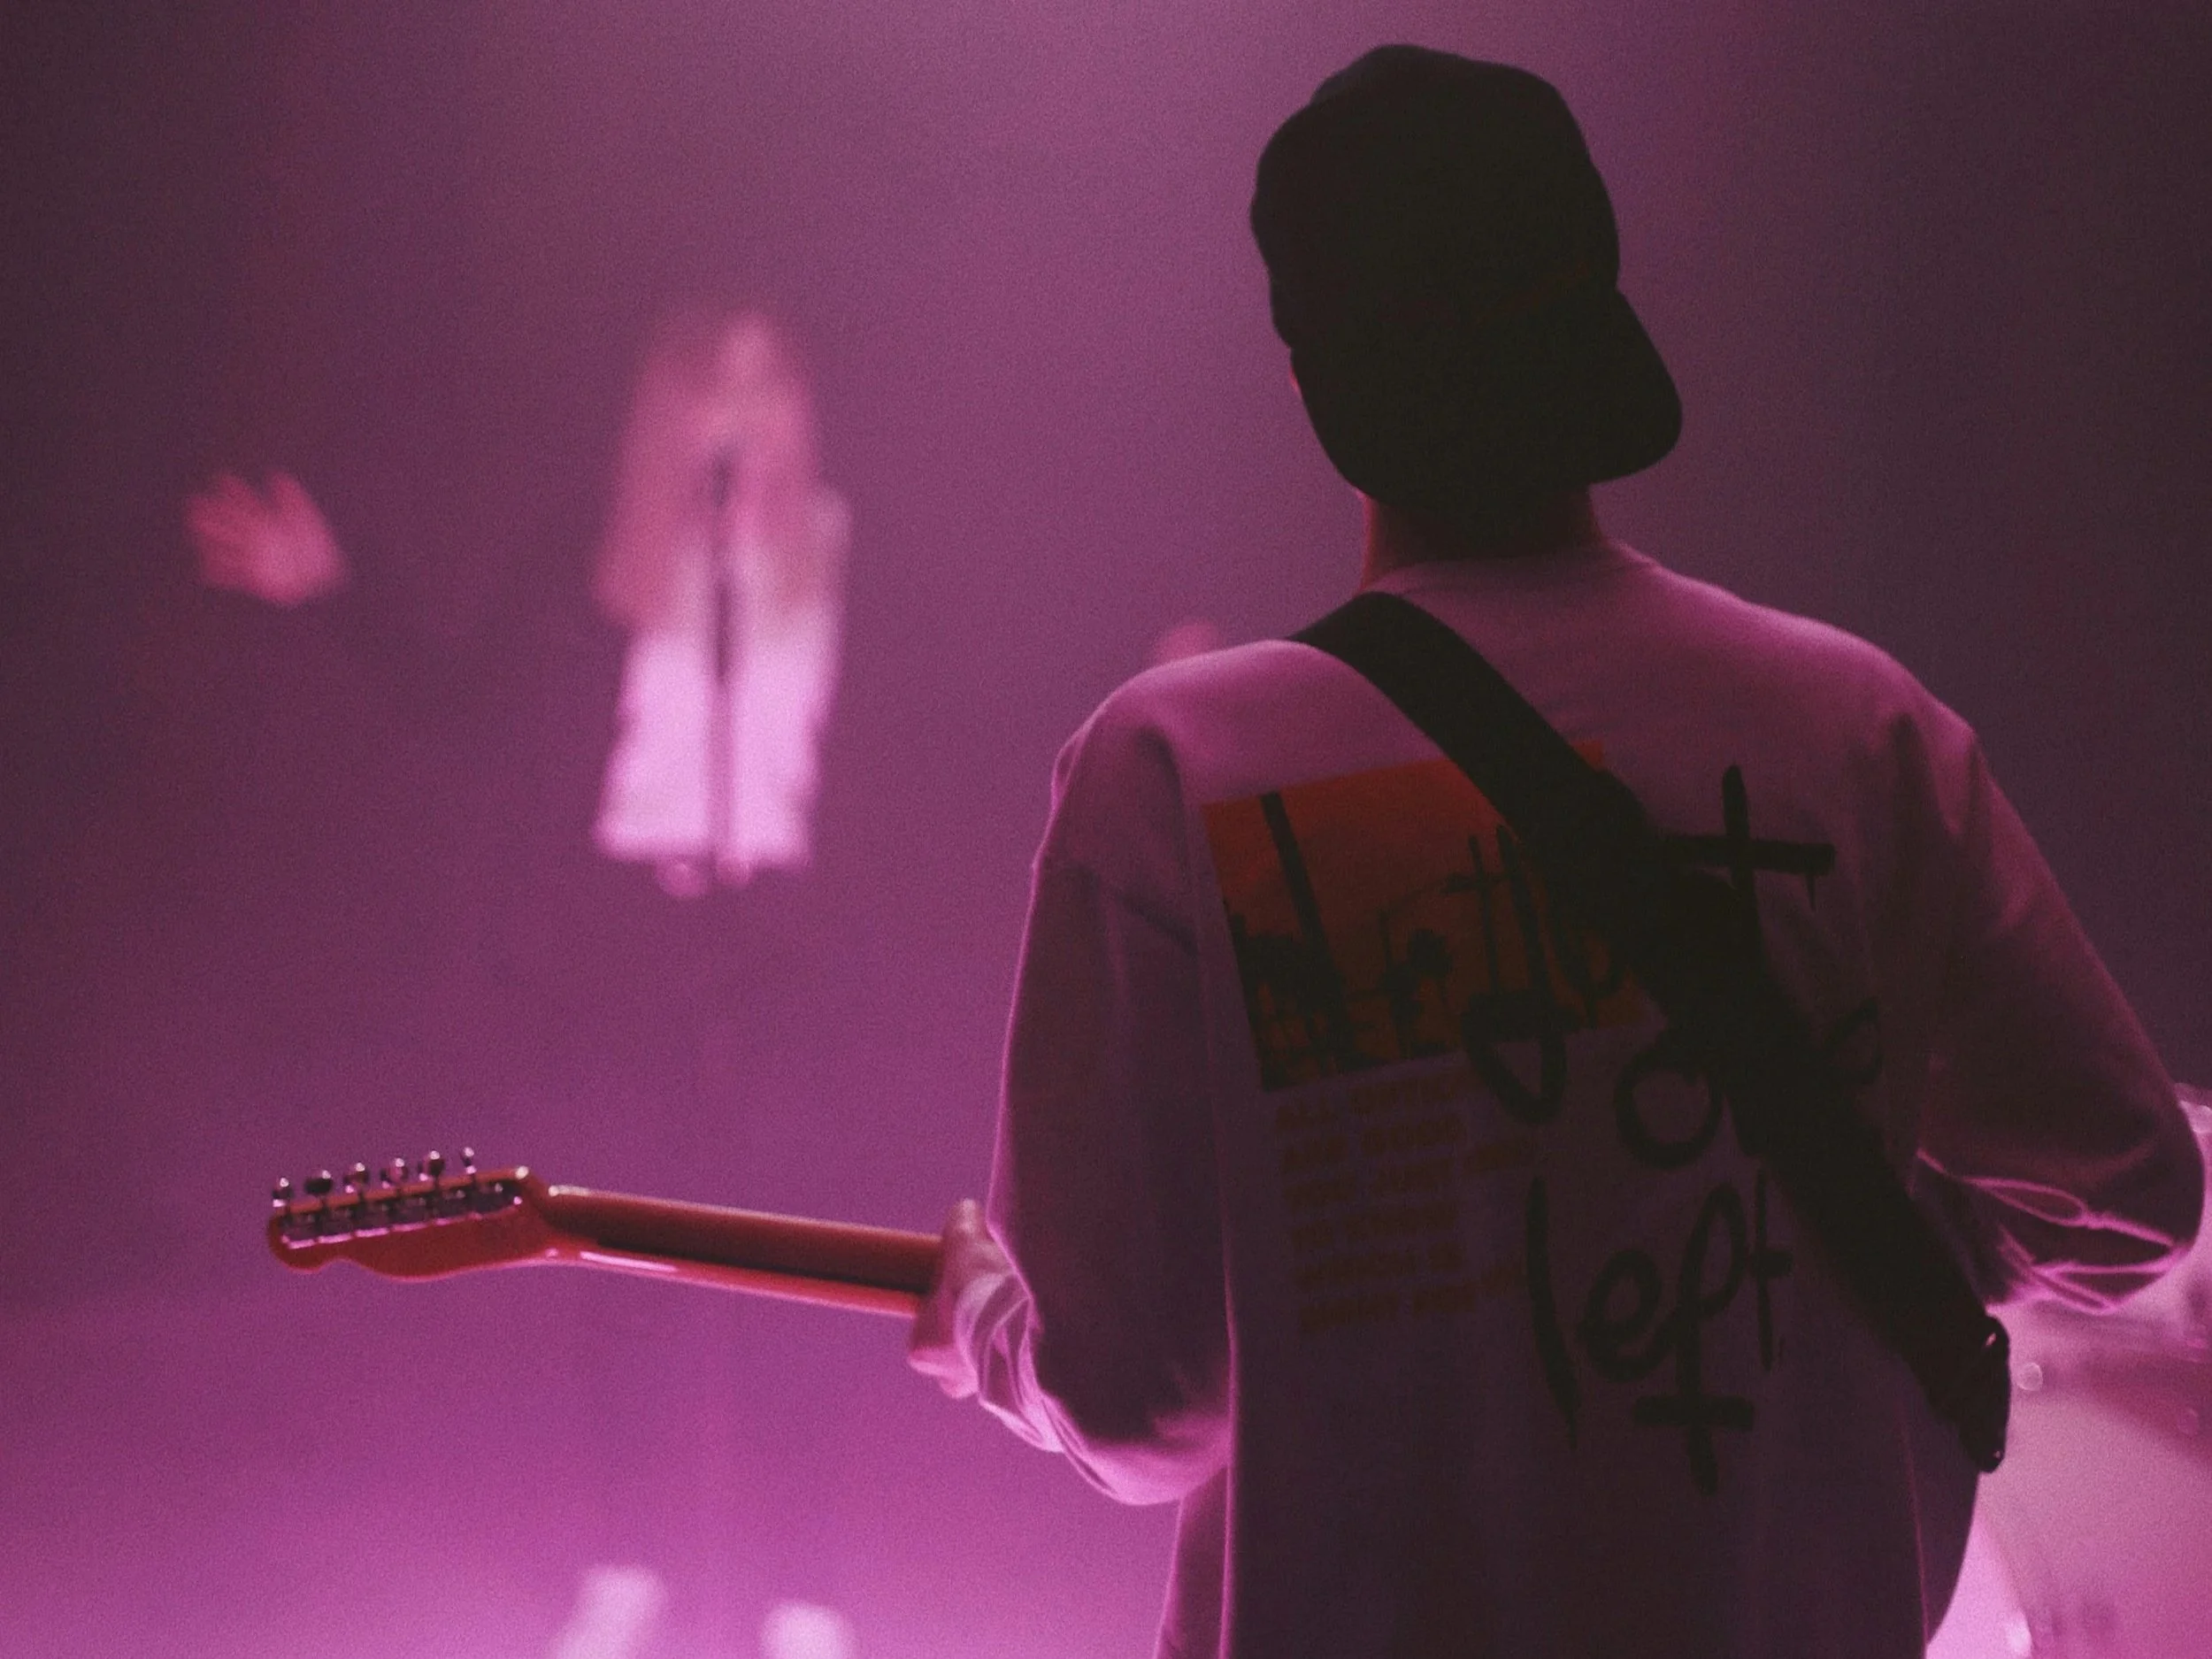
Photo by rc.xyz NFT gallery on Unsplash
Low-Budget Approaches That Look Professional
Single-location visual concepts:
Performance in a visually intriguing environment with creative lighting (colored gels, practical lights, or even string lights can be an inexpensive way to create atmosphere).
Shooting during "golden hour" (the hour after sunrise or before sunset) allows for naturally cinematic lighting.
Using a single bold color backdrop with a contrasting wardrobe can create striking visuals.
Playing with shadows and silhouettes can create dramatic effects with minimal equipment.
Technical approaches:
Smartphone filmmaking (with devices like the iPhone 15 Pro or Samsung Galaxy S24 Ultra) can deliver impressive results.
Add affordable stabilization tools like the DJI OM 5 gimbal ($129) for smooth movement
Use natural lighting supplemented by inexpensive LED panels (available under $100)
Focus on creative editing techniques like match cuts, creative transitions, or stylized color grading
Content approaches:
Lyric videos with creative typography and simple animations (using templates from Envato Elements or similar services)
Stop-motion animation using everyday objects related to your song theme
Found footage collage (using properly licensed stock footage or public domain archives)
One-take videos that showcase performance skill and creativity
Medium-Budget Concepts
Narrative approaches:
Short film that complements your song's themes without needing elaborate sets
Dance choreography videos with professional dancers (many are willing to work for reasonable rates for quality music videos)
Character-driven concepts that focus more on strong performances instead of elaborate productions
Stylized performance videos with a distinctive art direction and costume design
Technical enhancements:
Drone footage for foundational shots and dramatic perspectives (hiring a licensed drone operator typically costs $250-500 per day)
Motion control time-lapse sequences
Multiple camera setups for more dynamic editing possibilities
Basic practical effects like smoke, colored powder, or projection mapping
Location diversity:
Shooting across 3-4 locations to create visual variety
Securing interesting locations like abandoned buildings, unique natural settings, or distinctive architectural spaces
Creating contrast between urban and natural environments
When You Have More to Spend
Production value enhancers:
Custom-built sets tailored to your concept
Professional art direction with custom props and set decoration
High-end camera packages (ARRI or RED cameras) with cinema lenses
Specialized equipment like camera cranes, underwater housings, or car mounts
Creative concepts:
Mixed media approaches combining live action with animation
Complex narrative structures with multiple storylines
Period pieces with authentic costuming and settings
Elaborate choreography with multiple dancers and complex staging
Post-production enhancements:
Professional visual effects and CGI elements
Advanced color grading packages like DaVinci Resolve Studio
Motion graphics and title design by specialized artists
Professional sound design to enhance the visual experience
While making your music video, remember that the primary goal is to create visuals that amplify your music and spark a deeper connection with your audience. Start where you are, use what you have, and focus on translating the emotion of your music and artistic vision to the world. Your music deserves timeless visuals that reflect its power and resonates with viewers.
- Art
- Independent Labels
- Internet Radio
- Music Documentaries
- Album Reviews
- Music History
- Music Industry News
- Free Game Friday
- Free Downloads
- Poetry
- Books
- Interviews
- Did You See It?!
- Hip Hop History
- Hear Here
- Music News
- Hip Hop Documentaries
- Music Marvels Radio Show
- Think Piece Thursday
- Mini Documentaries
- Instrumental Intel
- Music Humor
- Indie Analysis
- Conversations & Quotables
- Music
- Resources for Artists
- Podcasts
- Beats/Instrumentals
- Music Education


![Hear Here: Achickwitbeatz - Dopamine & Serotonin [Single]](https://images.squarespace-cdn.com/content/v1/52b0b90ae4b0293bfed0d692/1710852808557-EZYGFDIBHLBSIRFOVS1Q/Dopamine+%26+Serotonin.JPG)